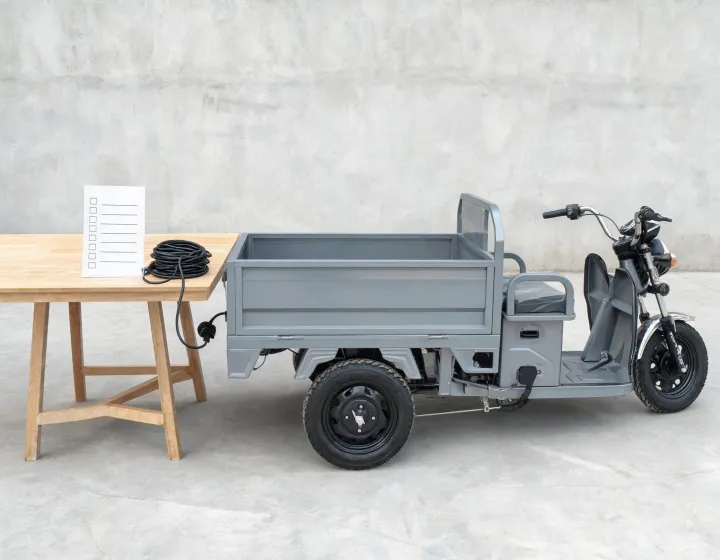
A front-only stop on a loaded RadTrike 2023 is the expensive mistake. The manual for that model warns that using the front brake by itself, especially at significant speeds, can cause excessive stress on components, damage to the trike and parts, loss of control, injury, or death. Extra weight also increases the time it takes to slow the trike. Read those two lines together and the failure is easy to picture: a rider with a loaded bed reaches for the front lever first, the front wheel and fork absorb a demand they were never asked to carry alone, and the stop runs longer than the rider planned for.
Everything below is about one machine, the Rad Power Bikes RadTrike 2023, as described in its US owner manual. None of it is a rule for every electric cargo tricycle. For that model, the defensible method is the rear coaster brake first, the front brake joining in, and both brakes finishing the stop.
Why a Loaded Stop Starts at the Rear
The load instruction is specific about order: with extra weight on the trike, use both front and rear brakes, and always engage the rear brake first to prevent excessive strain on the front wheel and fork and to prevent loss of control. The reason is where the weight goes during a stop. Braking pitches load forward, and on a trike with a full bed the front wheel and fork are already carrying more mass than they were set up for when empty. Pull the front brake alone and that forward transfer has only one place to go. Pull the rear first and the trike starts shedding speed before the front brake adds its share.
The rear coaster brake, operated by pedaling backward, is the initiator here; the front brake is the addition. That is a structural point, not a style preference. The same manual states that you should always apply the rear coaster brake before the front brake, and then repeats the order in the section about extra weight, which means the two instructions are one instruction seen under two conditions. Front-only braking shows up in the same document as a hazard, never as a shortcut to a shorter stop.
The Brake Sequence for a Loaded RadTrike 2023
On a loaded run the order is: pedal backward to bring in the rear coaster brake, then squeeze the front lever to add front braking, and hold both through the stop. The manual tells riders to use the front brake and the coaster brake to slow and stop the trike, so the coaster brake is not a parking aid or an emergency fallback — it is half of the normal stop, and it goes first.
What makes the sequence worth rehearsing rather than reading once is that the two inputs come from different parts of the body. Pedaling backward is a leg action; the front lever is a hand action. Under load, at the end of a driveway or a dock apron, the hand tends to move first because it is the reflex carried over from a bicycle. Suppose a rider has spent years on two-wheelers and has never owned a trike: the grab-the-front-lever habit is exactly what the loaded sequence has to override. That habit, not a lack of brake power, is the thing the rear-first order is asking the rider to unlearn.
The confirmation is simple and it is the point of the whole method: rear first, front joins, both stay on until the trike is stopped. If a stop ends with the front lever released early and the coaster brake doing the holding, the sequence was not followed, and the front brake was asked to behave like the primary brake.
What Extra Weight Changes About Stopping Time
Extra weight increases the time it takes to slow the trike when braking. That line does more work than it appears to, because it changes what counts as a normal approach, not merely which lever to pull. A trike that pulls up in a given distance empty needs more room loaded, and the manual offers no figure for the difference — so the honest planning move is to leave margin and build your own reference on the surface you actually ride.
Imagine a loaded approach to a stop sign at the bottom of a shallow grade, the kind of spot a delivery route meets twenty times a day. Empty, the rider has trained a habit of coming off the throttle late. Loaded, the same habit puts the trike past the line, and the correction — more brake, later — is precisely the front-led, high-stress stop the manual warns about. Because the stop itself takes longer, the sequence has to begin earlier, which means margin is part of the braking method rather than a separate piece of advice bolted onto it.
What the Front Brake Can and Cannot Do
Both warnings land on the same failure. Using the front brake by itself can cause excessive stress on components, damage to the trike and parts, loss of control, injury, or death, and the risk is called out again for significant speeds. The mechanism is not mysterious: braking pitches weight forward, and the front wheel and fork are the parts that receive it. Hand them the entire job and they carry a load they were not sized for alone. Give them an assist role and the rear brake has already removed speed before the transfer peaks.
Here is the tradeoff, offered as a preference rather than a rule. If the choice is between a firmer-feeling front-led stop and a slightly longer rear-led one on a loaded RadTrike 2023, I would take the rear-led stop every time. The reason is not that the front brake is weak; it is that this manual names front-only use as the stress case, and a stop that feels sharper is not worth a fork and front wheel absorbing strain they were not built to take alone. That preference is bounded to this model and this document. Different brake hardware on another machine comes with different instructions, and that machine's own manual is what you follow.
How Motor Cutoff Fits Into the Stop
When you squeeze the brake lever, a motor-cutoff sensor stops all power from the motor. That is a change of power state, not a brake. The distinction matters on a loaded trike because it explains a sensation: the moment the lever moves, the push disappears and the trike feels like it has begun slowing, well before the friction brakes have contributed much. Because drive torque drops out at the lever, the brake inputs are what actually bring the trike down, which means a rider who feels the motor quit has not finished a stop — the rear coaster brake and the front brake still have to do the work. Nothing here gives a stopping distance tied to cutoff, so treat the drop in power as the beginning of the stop rather than the stop itself.
There is a practical consequence for anyone coming off a throttle-and-coast habit. Waiting for the motor to cut and calling that braking leaves the trike rolling with a full bed, and the gap between the lever moving and the trike slowing is filled by distance you did not budget. The cutoff makes the sequence feel instant; the brakes are what make it real.
Where This Brake Advice Stops
All of the above traces back to a single document: the Rad Power Bikes RadTrike 2023 US owner manual. Its scope is that model, and the front-only warning belongs to that model's brake hardware and fork. Because brake hardware, bed load, and version differ between machines, the rear-first order and the front-only warning cannot be transplanted onto another electric cargo tricycle without that machine's manual in hand. Different hardware, a different fork, or a different weight distribution can come with a different procedure, and reading this article is not a substitute for it.
Confirm the exact vehicle version and the equipment actually installed before applying any of it. A modified trike, a model sold in a different market, or a machine with aftermarket brake parts sits outside what this document covers, and the gap is not something an article can close for you. The exchange you make by staying inside the scope is small — a longer, calmer stop — and the thing you avoid is the one failure mode this manual spends its sharpest language on.
The One Check Before a Loaded Ride
Before the first loaded ride, confirm one thing: both front and rear brakes are properly adjusted, maintained, and applied on the exact RadTrike 2023 in front of you. That is the check because the entire rear-first, both-brake method assumes two brakes in service. An improperly adjusted brake turns the order into guesswork, and this document's own instruction is to ensure both brakes are properly adjusted, maintained, and applied before relying on any sequence. If you cannot confirm that condition, the next move is the model manual, not a loaded test run.

Leave a comment
Do not include confidential procurement data in a public comment. Use the inquiry form for sourcing requirements.